Labels allow me to bless a quilt for someone - and express the love that went into making the quilt. Finding the right blessing or saying is almost as much fun and almost as much challenge as naming the quilt.
Then, for wedding gifts, I decided that the quilt needed to belong to someone in case of a divorce. I permanent pen I write who it is intended for, and when it was made, and the creation information. Then I make a label to put over the top for the happy couple. If something goes awry, the "real" owner of the quilt can remove the hand stitched label and VOILA - it's labelled for them.
In the IG world, I have*met* Lakeonestitchery - and she changed my world for quilt labels. She makes mandalas and writes the information in rings around the mandala - they captured my heart! She sent me to pictures of how she did it, and she makes a unique label for each quilt. Since then, each quilt gets a mandala/zentangle label.

My artistry is quite limited - I have to work really hard to be artistic at all (I am more craftsman than artisan, although I am working on it). I had worked and worked on a *zendala* for a label for the most recent set of three quilts I was making. I started by drawing on paper, and finally got a sketch I really liked. I just couldn't see replicating it with a fabric marker and fabric, though. Here comes the cool part - I ironed freezer paper to a 8.5 "x 11" piece of white fabric. I put the paper design on the printer glass, and "copied" it. Instead of paper I fed the freezer backed paper through the paper feed, and it worked!
I learned some things along the way - I tried to put 2 labels to a page - they totally fit! But it picked up weird lines from the folding of the original, and that didn't work. Also, the edges of the fabric picked up ink smudges, and when the label was at the edge of the sheet, then the labels had smudges. Just one, smack in the center of the sheet worked perfectly.
Lesson 2 was to really iron the edges down - especially the leading edge. Once that was tightly adhered, it worked like a charm in the printer.
Lesson 3 - I wanted to make sure the ink was thoroughly set, so soaked the 3 labels I printed in a bowl of white vinegar for 10 minutes. They were then rinsed, and ironed - no smell at all once they were rinsed and dried.

I then cut them down, pressed the edges over to the back, and handstitched them down. I was holding my breath a bit to see how they would hold up in the wash. Sharpies fade when they are washed so I was wondering.These are as crisp and clear as they went in the machine! Victory!
 |
| Before washing |
 |
| After washing and drying - no fading! |
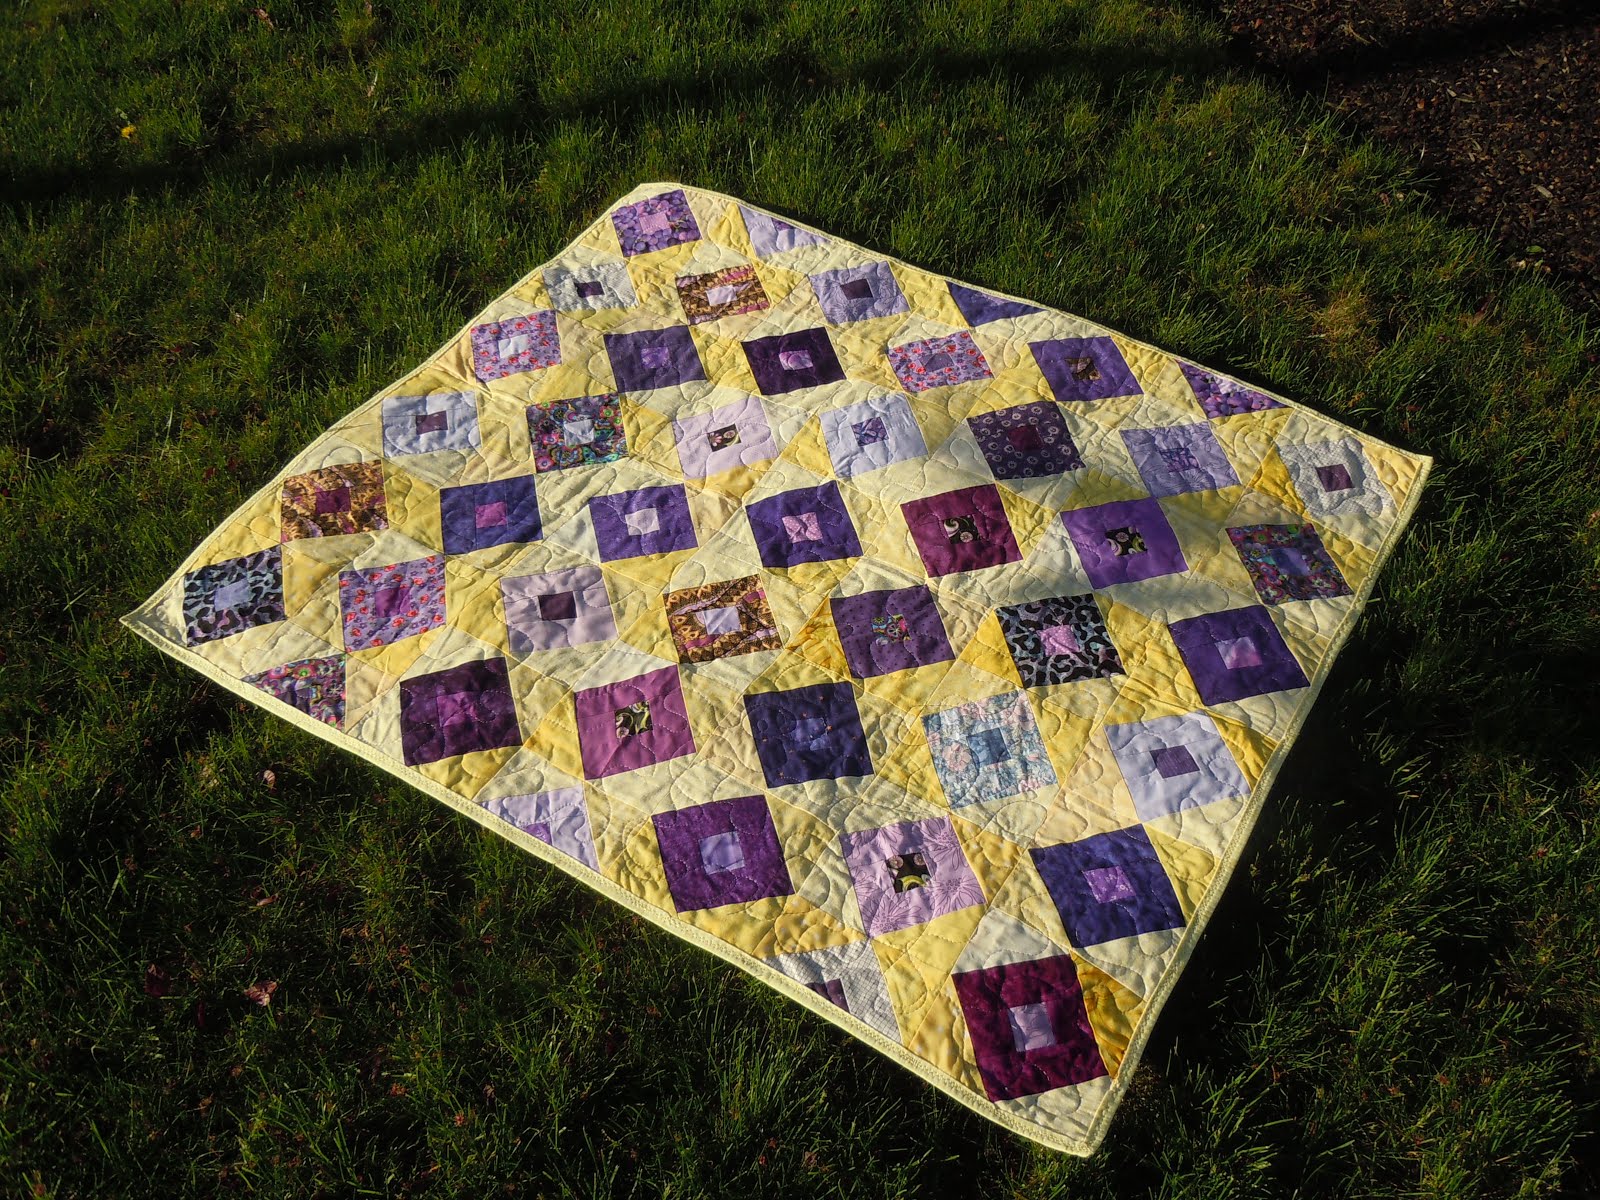
 Yay! All three are done...I guess technically I shouldn't post these until they have been given away, but since I know that no one is reading this yet, I should be safe. For the record, I am a Cougar - Crimson and Gray, all the way. However, I teach at a high school whose colors are purple and gold. It's a bit painful, but these are beautiful in spite of the color choice! These only need labels and washing - to crinkle them up and to de-cattify them.